
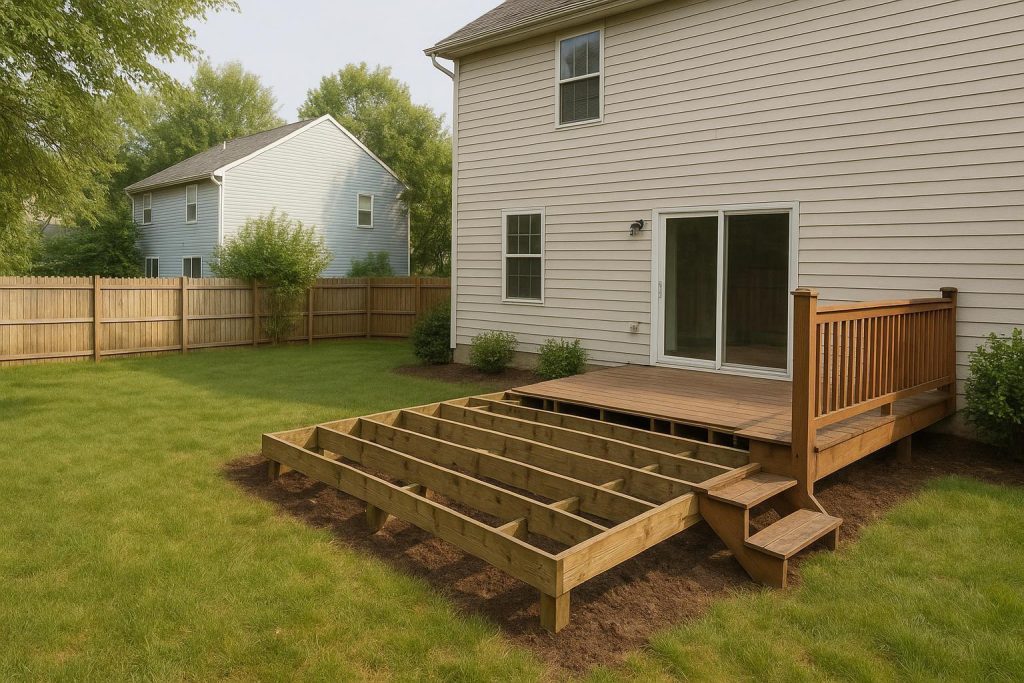
Protecting Your Landscaping During Deck Removal
Many homeowners worry about the fate of their landscaping when it’s time to remove an old deck. After all, you’ve likely spent effort caring for your lawn, garden beds, and decorative plants. Watching them sustain unnecessary damage can be disheartening. The good news is that with the right planning, communication, and precautions, most yards emerge from a deck removal project with only minimal or easily repaired wear.
In this guide, we’ll cover why landscaping damage occurs, how to minimize it, and what steps you can take to restore your outdoor space. You’ll also find helpful tips about managing debris and ensuring the removal crew respects your property. By the time you’re finished reading, you’ll have a clear understanding of the whole process—from planning the removal to caring for your yard afterward.
Table of Contents:
- Understanding Potential Risks to Your Landscaping
- Selecting a Suitable Removal Method
- Equipment and Tools: Minimizing Impact
- Preparing Your Yard in Advance
- Protecting Delicate Plants and Structures
- Handling Old Deck Debris
- Post-Removal Yard Care and Recovery
- Maintaining Clear Communication
- Additional Resources for Deck Removal
Let’s explore each topic in detail so you can approach your deck removal project with confidence.
Understanding Potential Risks to Your Landscaping
Before you start, it helps to know why damage can happen during deck removal. Most decks have support posts, footings, or beams that may sit close to tree roots or near flowerbeds. When these structures are dug out, cut, or pried loose, the surrounding soil can become disturbed. This can leave small depressions or cause unexpected stress to nearby plants.
In addition, the deck itself is often removed in sections that have nails, screws, or other sharp objects attached. If these items fall onto grass or shrubs, they can puncture leaves or roots, leaving visible harm. Heavy equipment—like pry bars or saws—may also need to get very close to landscaping elements, and improper operation can result in unintended damage.
One more factor is foot traffic. People working on your property inevitably need to walk near or around landscaping. Repeated trampling can compact soil, flatten grass, or inadvertently snap flower stems. Although most professionals attempt to keep away from delicate areas, accidents can happen. Fortunately, thoughtful planning and communication can help keep these mishaps to a minimum.
Selecting a Suitable Removal Method
When planning to eliminate a deck, the removal method you choose can influence how much impact your landscaping sustains. The most common approaches for deck removal include:
- Systematic Disassembly: This method involves taking the deck apart board by board, removing screws, nails, and brackets in a controlled manner. It’s usually less physically demanding on your landscaping because large chunks of wood aren’t being ripped away. It also reduces the likelihood that heavy machinery will be needed on your lawn.
- Demolition Techniques: Sometimes, a deck is demolished by cutting it into large segments or prying entire sections away at once. While necessary for some structures, this approach can risk dropping bulky pieces of debris across the yard. If you have delicate plants, extra caution is required with this method.
The method selected will depend on factors like your deck’s size, materials, and overall condition. If preserving your lawn and garden is a priority, talk to your contractor about favoring smaller, more controlled dismantling techniques.
Equipment and Tools: Minimizing Impact
Whether professionals use hand tools or powered equipment matters a lot when it comes to protecting landscaping. Here are some considerations:
- Hand Tools (Pry Bars, Hammer, Saws): These tools give crews great control and reduce the chance of large, sudden movements that could damage surrounding vegetation. The modest footprint of hand tools also means you won’t have a big machine rolling over your flowerbeds.
- Power Saws and Drills: These tools allow faster deck breakdown but also create flying debris if not handled properly. When used carefully, they can still be quite landscaping-friendly.
- Equipment Placement: If heavier gear, like mini-excavators, needs to be brought in for footings or thick beams, make sure there’s a plan to protect the nearest lawn space. Some contractors will put plywood sheets down to distribute weight and prevent ruts.
Ask your deck removal team which equipment they plan to use. If you’re particularly concerned about your garden, confirm that they can reduce—or eliminate—the need for large machines.
Preparing Your Yard in Advance
A few small steps before removal day can prevent a lot of stress and landscaping damage. Since it’s your property, you know where the most delicate plants or trouble spots are located. Take some time to move or safeguard any vulnerable foliage or personal items:
- Relocate Containers and Décor: Move flowerpots, lawn ornaments, patio furniture, and decorative pieces out of the way of the removal team. This prevents accidental breakage and maximizes their working space.
- Trim and Prune: If you have shrubs or branches that extend into the demolition area, consider carefully trimming them back. This helps the crew access the deck without brushing against or trampling extra greenery.
- Mark Delicate Areas: Use markers, flags, or temporary fencing to identify spots that need extra caution, like newly planted shrubs or a delicate vegetable garden. Clear boundaries make it easier for workers to see and avoid trouble areas.
- Lay Protective Coverings: Placing drop cloths, tarps, or plywood over garden beds or newly planted grass can cushion the surface from stray debris. This tactic is especially useful if the deck is directly adjacent to a flowerbed or walkway.
Small actions like these can save you from dealing with crushed plants or chipped pavers. It also shows the removal crew exactly where to tread lightly.
Protecting Delicate Plants and Structures
Many yards feature focal points such as ornate shrubs, decorative ground covers, or even small retaining walls near the deck. These zones often require extra safeguards, particularly if the deck is large or built with thick beams. Here are a few ways to keep everything safe:
- Protective Barriers: Erect temporary barriers around your most valuable sections of the yard. This could be as simple as plywood sheets propped against a series of stakes. Because deck removal can involve prying boards with nails still attached, a solid barrier can block falling debris.
- Custom Walkways: Sometimes, you can plan a clear walkway that the crew can use. This walkway might consist of a row of plywood pieces that keep feet (and occasional dropped tools) off the lawn entirely.
- Securing Loose Materials: If part of the deck extends over a landscaped slope, watch for loose nails or smaller wood bits rolling downhill. Request that the removal team gather these as they work, rather than letting them scatter across your yard.
By combining these protective steps with open communication between you and the crew, you’ll reduce the risk of cosmetic or structural harm to your outdoor living space.
Handling Old Deck Debris
Once the deck boards are removed, they may create unsightly piles of wood, nails, screws, and other construction waste. Letting these materials sit on your lawn for too long can kill the grass underneath or flatten fragile plants. It’s beneficial to have an organized removal plan in place:
- On-the-Spot Disposal: Ideally, the crew can remove debris sections as they take them off the frame. This reduces the chance of random scraps piling up.
- Staging Areas: If immediate hauling isn’t possible, designate a specific spot away from delicate landscaping to stack debris. Ensure it’s on a durable surface or on top of a protective tarp.
- Professional Junk Removal: If you’re worried about leftover boards, nails, and general clutter, you can hire a junk removal service. This approach is handy for preventing lingering scraps or dangerous nails from posing a hazard around your yard.
To learn more about how a crew might handle deck material leftovers, you can check our related FAQ: Will the deck removal service also haul away all leftover debris?
Post-Removal Yard Care and Recovery
After the deck is gone, you might notice small patches of flattened grass, shallow ruts, or loose soil. These minor marks are usually remedied through simple lawn care steps:
- Re-Seeding or Re-Sodding: Fill in bare spots with fresh topsoil and spread grass seed that matches the existing variety in your yard. Alternatively, install small patches of sod in problem areas for an immediate fix.
- Raking and Leveling: If workers had to dig out footings or posts, you may need to rake out extra soil or level the area. Packing fresh dirt into the holes ensures smoother ground.
- Water and Fertilize: Giving your grass a boost with fertilizer and proper watering can speed up recovery. Consider an organic fertilizer that promotes healthy root development.
- Patience is Key: Most minor damage heals within a few weeks, especially during growing season. Grass regains its shape and color once foot traffic subsides.
For particularly damaged flowerbeds, you may need new mulch or a few replacement plants. In many cases, however, the cost of replacing a couple of bedding plants is mild compared to the benefits of removing a deteriorating or unsafe deck.
Maintaining Clear Communication
Communication with the deck removal crew is a crucial aspect of safeguarding your landscaping. Before any work starts, take time to discuss these points:
- Your Biggest Concerns: Hand over a list or map that pinpoints sensitive areas—either plants you want to protect or challenging sections of the yard.
- Preferred Pathways: Indicate the best route for removing large, heavy materials from your property. Ideally, this path stays away from prized flowerbeds or newly planted shrubs.
- Timing Considerations: Let them know if you’d prefer certain removal methods. For instance, if a less invasive technique is possible, request it. You might anticipate a slightly longer demolition time, but it could lessen landscaping wear.
Express your concerns early in the planning process so your deck removal professionals can prepare. This open dialogue fosters a sense of partnership. When they understand how important your garden is, they’re more likely to take extra measures to protect it.
Additional Resources for Deck Removal
There’s more to removing a deck than just minimizing landscaping damage. You might also wonder about permits, reuse possibilities for old materials, and how long the arrival of a debris-free yard might take. If so, check out these related FAQs:
- Do I need a permit to remove my backyard deck?
- Are the materials from my old deck recyclable or reusable?
- How long does it usually take to tear down an average-sized deck?
- Will the deck removal service also haul away all leftover debris?
Learning more about these areas can help you feel fully prepared for each step of the process.
Key Takeaways
- Most landscaping damage during deck removal is preventable with careful planning and communication.
- Systematic disassembly is often gentler on lawns and gardens, though it can take longer.
- Protective measures, like tarps and barriers, shield delicate flowerbeds and shrubs.
- Cleaning up debris promptly prevents smothered grass and helps you keep your yard clutter-free.
- A thorough post-project lawn care routine ensures grass and flowerbeds recover quickly.
Ultimately, the goal is to remove your deck without leaving a permanently scarred yard in its wake. The removal process might stir up the soil near footings or flatten a few patches of grass. Yet, with proper care, your landscaping can bounce back before long.
In Edmonton and surrounding areas, you can explore a demolition or junk removal service that matches your project’s needs, making sure the leftover scraps are safely hauled away. By choosing a crew that respects both the project and your yard, your deck removal can be smooth and landscaping-friendly.
Taking the time to communicate your landscaping priorities, prepping your yard, and arranging for efficient debris disposal plays a big role in minimizing disruptions. Once the deck is gone, a few simple restoration steps—with some topsoil, grass seed, and watering—will help your lawn look healthy again. With the right plan, you can say goodbye to an old deck without having to say goodbye to a well-kept yard.